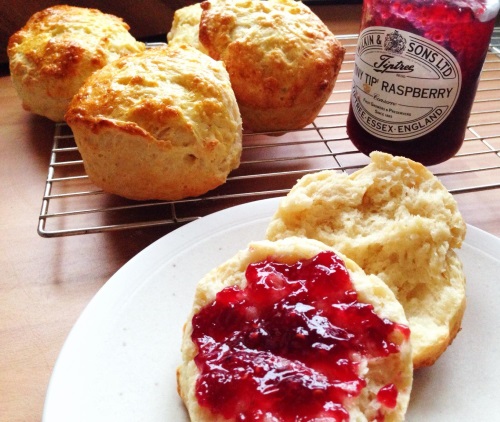
A perfect fluffy scone with plenty of jam (and maybe some cream) is one of the yummiest treats ever. But shop-bought scones are always tough, a little dry, and a bit tasteless. I promise you that making perfect scones at home is easy peasy, and they are way more yummers than anything you buy in the supermarket.
We just need a little helping hand (or three) from our friend Science.
How Can Science Help?
1. We will bake our scones in a roasting tin or deep tray.
This helps to keep our scones soft as more moisture is kept within the tin–less moisture will escape during baking. So we won’t have dry scones.
2. We will use an acid and alkali combination to generate more air bubbles.
To make sure our scones rise as much as possible, the lactic acid in yogurt and the alkali in bicarbonate of soda and cream of tartar will form a chemical reaction. This reaction will start as soon as these ingredients meet, resulting in bubbles of air that will make our scones rise.
3. We will sieve our flour.
Sieving puts more air into the flour and so will help to make the scones lighter.
 Stuff You’ll Need

Makes 6 really big scones
- 250g yogurt
- 2 tbsps milk
- 25g caster sugar
- 400g plain flour
- 1/2 tsp salt
- 2 tsps cream of tartar
- 1 tsp bicarbonate of soda
- 50g butter
- 1 beaten egg (optional)
I haven’t included cup measures for this recipe. As it’s a more scientific approach, the amounts need to be weighed precisely and cup measures aren’t quite as accurate.
Let’s Get Going
Preheat the oven to 220c, 425f, gas 7
 1. In one bowl, mix together your yogurt, milk, and sugar and put it to one side until the sugar dissolves. In another bowl, sieve your flour, bicarbonate of soda, and cream of tartar. Add the salt, and stir together.
 2. Add your butter to the flour mix and rub it in with the tips of your fingers, until some of the mix looks breadcrumby.
 3. Add your yogurt mix and stir it in with a knife. Once the dough starts to come together, you can use your hands to do the rest of the mixing. Do not overmix as it will make the dough tough–stop when the mix is just combined (it’s OK to be a bit lumpy).
 4. Turn the dough out onto a floured surface and pat it down until it’s about 3-4 cm deep. Cut out your scones using a cutter and repeat until you have no room left. Push the dough together and keep cutting out until you have no dough left.
 5. Put the scones into a roasting tin that’s lined with greaseproof paper and paint the tops of them with beaten egg if you wish–it makes the tops shiny and golden if you do. Bake for 12-15 minutes until they are a light gold colour on top.
These scones are really extra yummy when you eat them warm, but they will happily last for a few days in a sealed container.
Feeling Fruity?
If you don’t fancy making plain scones today then why not add some dry fruit to the mix when you add the yogurt to the flour. Raisins and chopped glacé cherries work best–around 100g should be enough.
Now wasn’t that a yummy way to learn about science and what happens when acid and alkali meet? If you want to do some more yummy science, then find some other ideas here.
Mas says
Oh wow! I never know about using the roasting tin will keep the moisture in. Superb tip here. Thank you. x
Wendy Finn says
It’s a recent discovery of ours too, but I promise it works 🙂 Thank you for taking the time to comment. xx
Julieanne says
Just wondering if the yoghurt you used was natural Greek yoghurt?
Wendy Finn says
Hi Julieanne. It was just plain natural yogurt, it doesn’t have to be Greek style, although that works too. Hope you give it a go 🙂
Dylan says
lovely scones here wendy
Wendy says
Thank you Dylan!