Did you ever wonder what makes bread rise? What happens to turn a floury dough into a yummers loaf of bread? It’s all about science…
The Magic of Yeast
Bread has five basic ingredients:
- Flour
- Yeast
- Water
- Salt
- Sugar
Most of what makes a loaf of bread rise is to do with its smallest ingredient: yeast. However, it needs help from some of the other ingredients so that it can do its job.
Yeast is a type of funghi (mushrooms come from the same family) and it is a living organism. Just like any other living thing, yeast needs fuel to power it–just like we need food. Yeast loves to feed on sugar, in fact, it just can’t work without it.
Not only does yeast feed on the sugar we put in our mixing bowl but it also breaks down parts of the flour and turns that into sugar too–the water helps with this process. However, yeast doesn’t gobble up all of that delicious sugar, it leaves some to make the bread taste nice.
As the yeast gobbles its way through its delicious sugar feast, it begins to release a gas called carbon dioxode. You can think of these as little burps!
It’s these burps that make the little air bubbles in dough, and so the bread rises.
Keep Yeast Warm
Yeast also likes to keep warm–just like us again. So before our bread dough is ready for the oven, we need to keep it warm so that the yeast can start working and making the dough rise. This is when yeast really gets to work and starts to grow our dough.
What About Salt?
You might have noticed that we haven’t mentioned salt yet. Well, say it quietly because salt and yeast are deadly enemies. Salt might make our bread taste good but it kills yeast, so it’s important not to use too much, and to keep these enemies on opposite sides of the bowl when you start mixing.
You can see the magic of yeast at work (keeping the evil salt villain away) by making your own flowerpot bread or bread rolls.
Stuff You’ll Need
- 450g strong flour (also called bread flour)
- 1 sachet (7g) dried yeast
- 300ml warm water
- 1 tsp salt
- 1 tsp sugar
- Flowerpot shape tins, or prebaked and oiled mini flowerpots* (optional)
*Not plastic, for obvious melty reasons.
Let’s Get Going
1. Mix together all your ingredients with a fork or spoon first, and then with your hands when it gets too stiff.
2. Sprinkle some flour on your worktop and throw the dough on to it. Now you have to get kneading the bread. Stretch it out, fold it over, and turn it around by 90 degrees. Then start again: stretch it out, fold it over, and turn it around… and keep going until the dough is stretchy and smooth.
Why do we knead bread?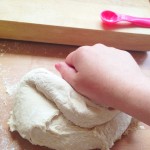
This is to get the dough all elastic, so that it can catch those yeast burps and keep it inside our dough to make it rise. The dough is made elastic when water and flour are mixed, the more we knead the dough, the more gluten is made. Gluten is what makes bread chewy and not like a rock.
3. Now pop your dough into a bowl and cover it up with clingfilm or a damp tea towel. Put it in a warm place (remember yeast likes to be cosy) so that the dough can start to rise. Leave it for about 1 hour. This is called proving.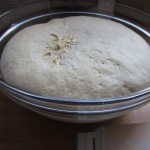
4. See how the dough is now almost twice the size? Punch the dough down to get rid of all the large air bubbles. We only want small yeast burps to be caught in our bread, not big belches!
5. Divide your dough into six pieces. Shape each piece of dough so that it can fit into your flowerpots or moulds, or shape it into slightly flattened circles to make bread rolls. Cover again, and leave for another 1 hour.
6. After about 45 minutes, preheat your oven to about 220c,425f, gas 7 (or hotter if you can). As the oven heats up, you can decorate your bread if you wish.
How to Decorate Your Bread?
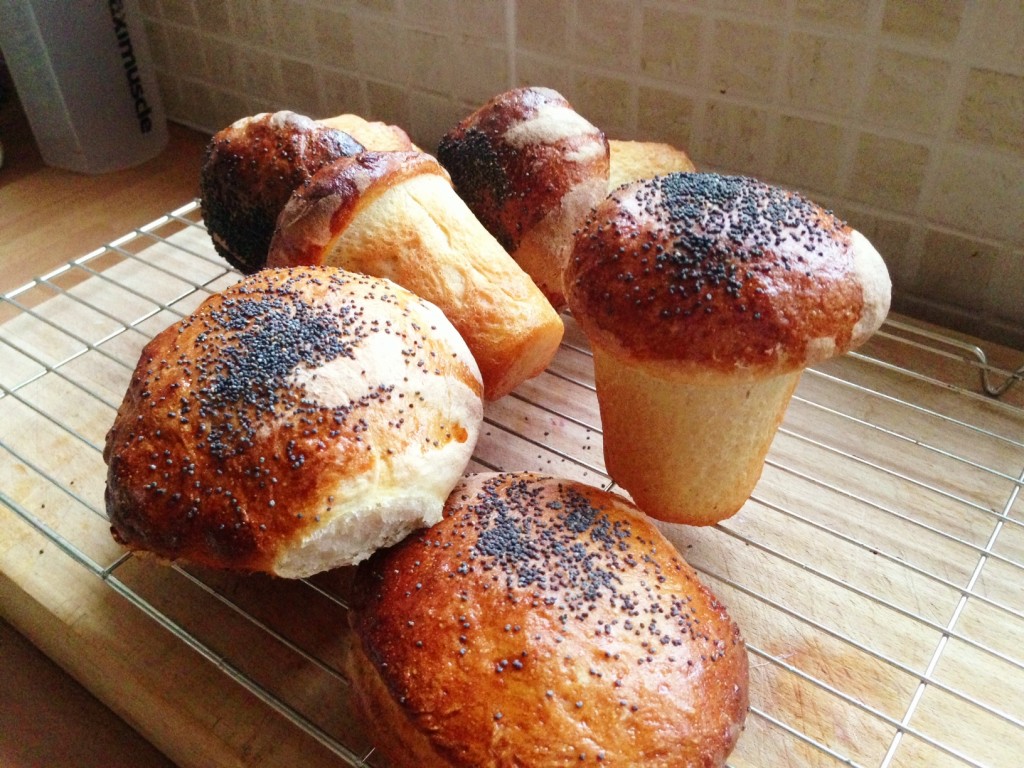
You can scatter flour over the top, or decorate with seeds. We’ve used poppyseeds on ours and brushed the tops of our dough with beaten egg first–this helps the seeds to stick and gives a shiny crust to the bread when it’s cooked.
7. Get a grown-up to put your dough in the oven. These take less time to cook than a loaf of bread, so check on them after 20 minutes. You’ll know your rolls/mini loaves are ready when they look good, and when you tap the bottom of your bread it should sound hollow. Give it longer in the oven if it doesn’t.
Are you happy with your bread? Did it rise well? Now you know what makes bread rise, you’ve learned the magic of yeast, you know what gluten is, and you’ll remember that yeast and salt are enemies!
If you want to learn more about how bread is made, such as how wheat becomes flour, or how loaves of sliced bread are made in the factory, then click here.
Any more bread questions? Let us know 🙂


Leave a Reply