Whether you like your bagels with chocolate spread at breakfast time, with cream cheese for lunch, or just toasted with butter for a snack, they make a tasty, chewy change to the usual bread roll. Would you like to know how to make bagels yourself? It’s really fun, and we’ll learn a bit about the history of bagels along the way. Step this way…
 The Perfect Bagel Is…
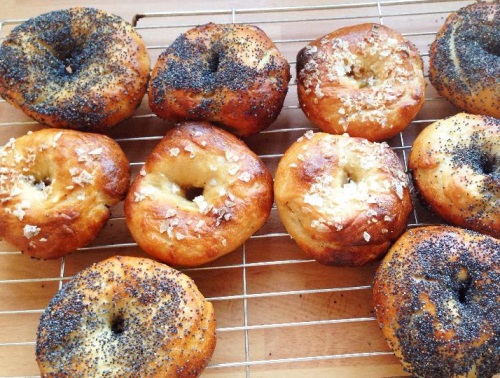
Bagels should be dense and chewy, with a shiny crust, and will be nice and doughy inside.
Traditionally, bagels are made from a strip of dough that is curved around until one end meets the other to form a ring doughnut shape. To make things easier though, we will be using a different method to make our bagels, but the end result will still be the same.
Bagels should be boiled before they are baked. This is to give it a slightly shiny and chewy crust.
Are you ready to make bagels?
A Note for Grown-ups:
There’s a lot of waiting around when making bagels, but not a lot of kitchen time, so it’s a good one for those Mini Yummers that have attention issues. Do a bit in the kitchen, set the timer, play for a bit, go back to the kitchen for a bit etc. It’s a definite recipe for a weekend or school holiday, when you have a bit of time.
Stuff You’ll Need
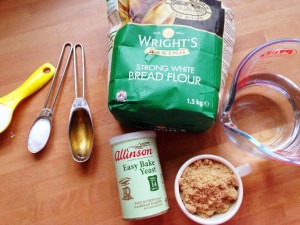
- 500g strong/bread white flour
- 1 tsp yeast
- 2 tsps salt
- 1 tbsp caster sugar
- 275ml warm water
- 1 tbsp vinegar
- To boil
- 50g brown sugar
- Large saucepan of boiling water
- To decorate
- Poppyseeds, salt, any other seeds you like
Let’s Get Going
 1. Mix the flour, yeast, salt, and caster sugar in a bowl, and then add the warm water and vinegar.
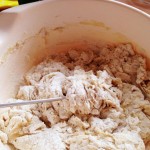 2. Stir together until you get a sticky dough. Cover the bowl with clingfilm and leave for 30 minutes.
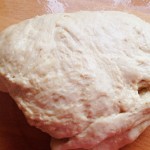 3. Knead the dough, using oil on your worksurface to stop it sticking and to stop the dough getting too dry. Cover over again and leave for 1 hour.
 4. Divide your dough into 10 pieces and roll each one into a ball. Cover them for 20-30 minutes with cling film or a damp cloth.
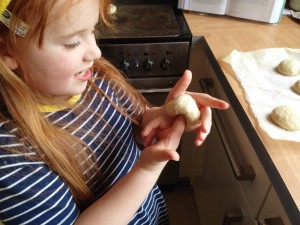 5. Push your thumb into the centre of a ball and meet it on the other side with your pointing finger. Wiggle them around and pinch until you have a hole in the middle. Do this for all your dough balls. Put your oven on to 210c/425f/gas 7.
 6. Get a grown-up to boil your water with brown sugar. When it’s boiling, your grown-up can pop a bagel or two into the water. It should be in there for no more than one minute before it gets turned over and the other side gets boiled for one minute. Take out and put on a baking tray.
7. While your grown-up takes charge of the boiling, you can add some seeds or a sprinkling of salt–the sugar water will help it all to stick.
8. Bake in the oven for 20-25 minutes. Now you should have some deliciously chewy bagels.
Don’t worry! If your bagels look a bit wrinkly after boiling, it will all even out in the oven 🙂
History of Bagels
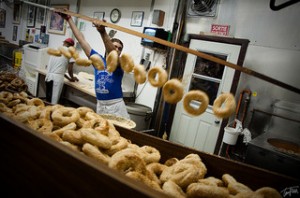 The history of the bagel is a bit uncertain, with many stories as to who invented it. What is definitely true, though, is that they were hugely popular with Polish Jews in the 1600s. In fact, by the 16th and 17th centuries, the bagel was part of the Polish staple diet.
Some people say that the bagel gets its name from the Austrian word for stirrup: “beugel”. As the bagels of the time weren’t perfectly round, they were a bit squished, like the shape of a stirrup. (A stirrup is the bit you put your feet through when riding a horse).
By the 19th century, bagels were commonly sold in London, and Polish-Jew immigrants made sure they were a hit in New York City, where they are still popular today. Bagel shops of the time often used big wooden dowels to stack their bagels on–great for saving space in a small bakery–or they would string them up from a rod for presentation (as on this picture).
Remember to share this post with your friends if you have had fun!


Leave a Reply